

|
| uCoz Community » uCoz Modules » Online Shop » Payment methods: Checkout from Wallet One (Manual) |
| Payment methods: Checkout from Wallet One |
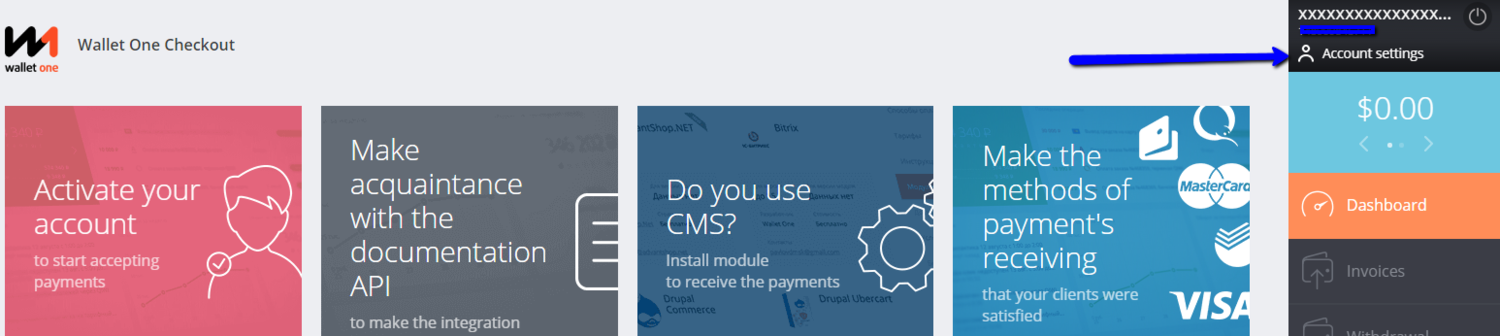
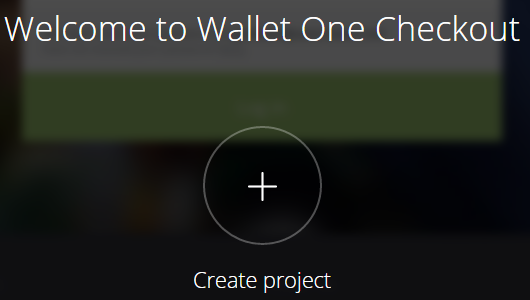
 Use the uShop+WalletOne promo code, if it’s not automatically applied. It will offer you an opportunity to take advantage of the “Medium Business” plan and enjoy beneficial terms profitable conditions. You won’t be able to use the promo code after you’ve signed up. Adding your online shop to Wallet One Checkout Go to the Account settings section. Click on the Create project button. Complete the form in 3 steps by specifying your project’s details: its name, URL, country and currency, and the purpose of registration – for individual needs or for business. Data you’ll need to set up the payment method on the online shop’s end You need to use the following data to set up the payment method:
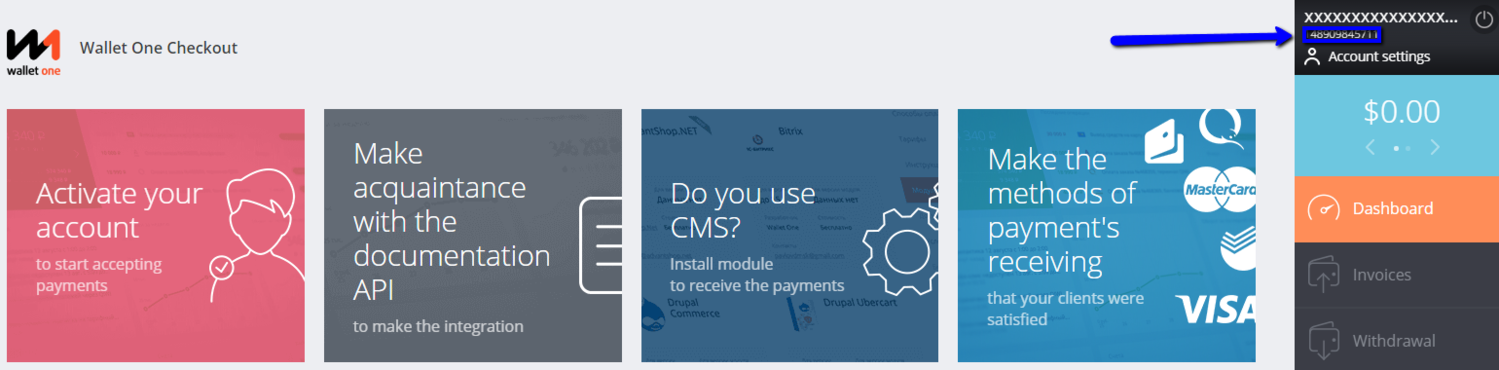
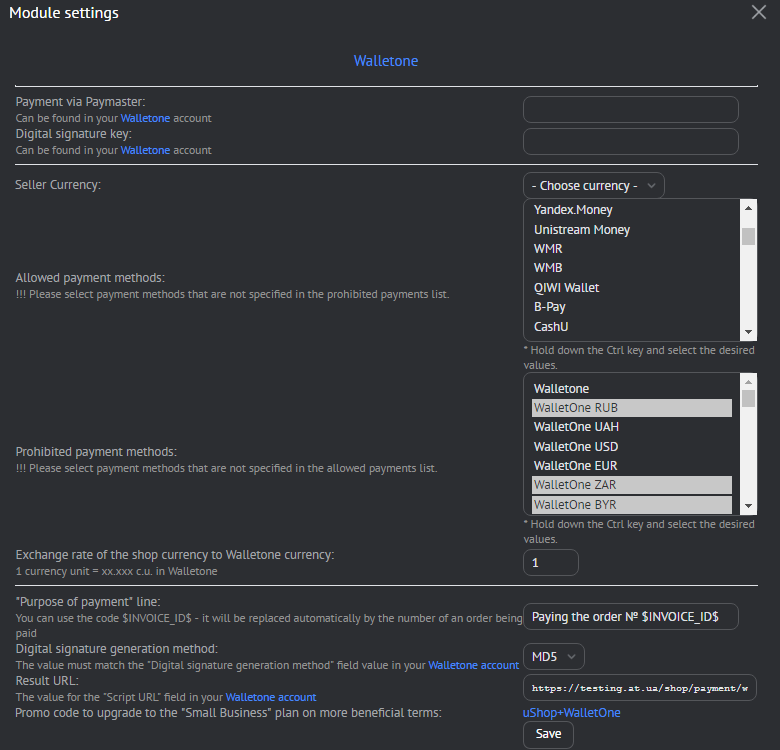
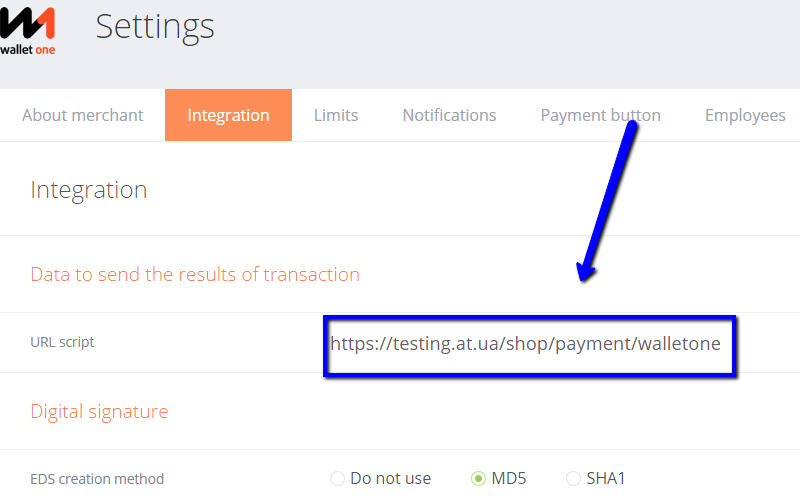
Merchant identifier can be found under the project name: Digital signature’s key should be generated in the settings (the Integration tab). First, choose the method to generate your digital signature (MD5 or SHA1). Second, copy the key. Don’t forget to press the Save button, otherwise, the key won’t be valid: After the key is formed and the Settings tab is closed, you won’t be able to view it again. That is why be sure to keep the tabs of your personal account on Wallet One open when proceeding to the control panel of your shop. Adding the Wallet One payment method Add a new payment method. When adding it, use the e-payment module (1), then choose Wallet One (2) and press the Module settings button (3): The Module settings window will appear:
After all the fields are filled in, save the settings and payment methods. Now everything is set to pay for orders on your website through Wallet One Checkout. After you have submitted the form and configured the module, we recommend that you activate the Wallet One account to verify your shop and request moderation. Attachments:
0931976.png
(223.9 Kb)
·
7482183.png
(263.8 Kb)
·
7841199.png
(53.3 Kb)
·
4797125.png
(275.6 Kb)
·
1279478.png
(17.8 Kb)
·
8608077.png
(117.1 Kb)
·
1597196.png
(104.7 Kb)
·
3665804.png
(99.8 Kb)
·
6718479.png
(49.5 Kb)
|


| |||
| |||